Russia eVisa Passport and Photo Mistakes: How to Avoid a Returned Application
Russia Visa Guide Article Details
The most preventable Russia eVisa problems begin with a passport field or image that looked “good enough” on a phone. A wrong digit, shortened name, cropped machine-readable zone or unsuitable portrait can cause the form to be returned for correction. If an eVisa is issued with inaccurate identity data, the official FAQ says the issued visa cannot simply be edited; a new application may be necessary.
This guide is a practical quality-control routine, not a list of photography jargon. It shows how an ordinary applicant can inspect the physical passport, the saved files and the completed form before submission. The goal is not to make the application look impressive. It is to make every identity fact readable, consistent and attributable to the correct traveller.
Quick answer: what should a safe upload show?
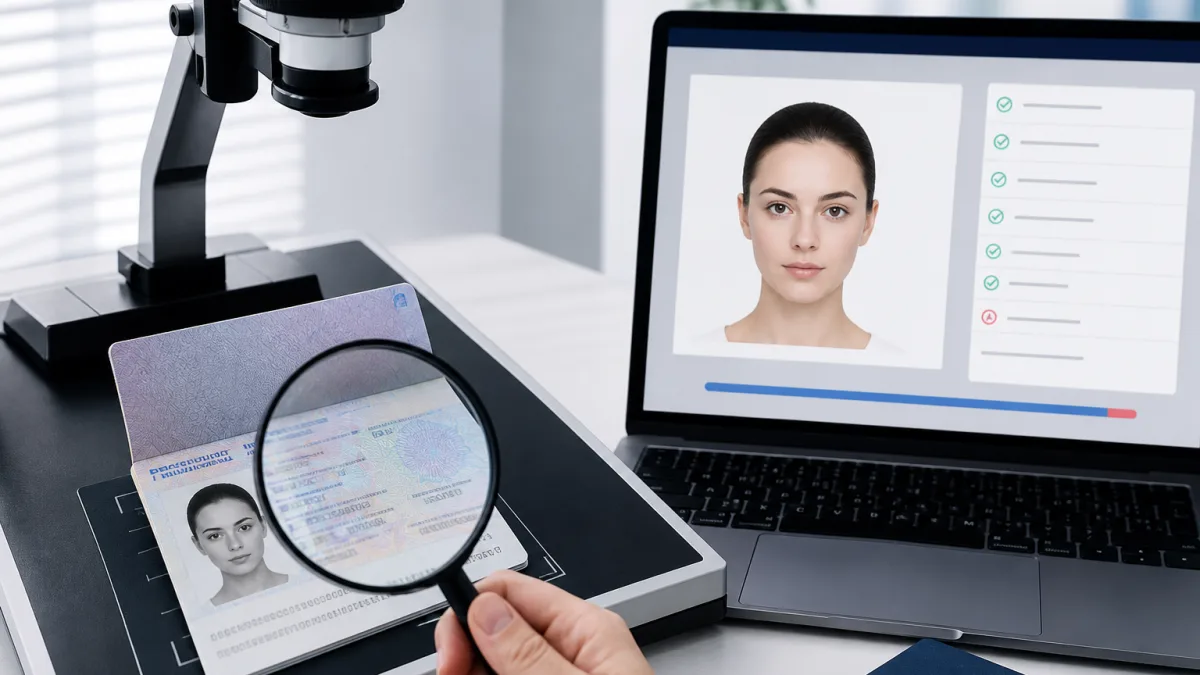
A passport image should show the complete biodata page, all four edges, every printed identity field and the full machine-readable zone without glare or blur. The applicant photo should be a separate, recent, front-facing portrait prepared to the specifications displayed in the official form. Both files must belong to the same person whose data is entered.
| File or field | Common failure | Better check |
|---|---|---|
| Passport page | Cropped edge or hidden machine-readable line | Open at full size and inspect every corner |
| Passport number | O/0, I/1 or old passport copied | Read from the physical current passport twice |
| Name | Nickname, omitted component or booking spelling | Follow passport surname and given-name fields |
| Issue/expiry dates | Day and month reversed | Compare each date beside its printed label |
| Portrait | Passport crop, filter, shadow or background effect | Use a separate current neutral portrait |
| Family uploads | Correct file attached to wrong applicant | Use one private folder per traveller |
Mistake 1: entering a familiar name instead of the passport identity
People know their own names, so name fields feel easy. They are not. A person may use a short name socially, omit a second given name on bookings or follow a different order in domestic records. The Russian eVisa is linked to the international travel passport. Copy the surname and given-name components from that document rather than deciding how the name “should” be divided.
Multi-part and single-name passports require particular attention. Do not invent a surname to satisfy a Western naming habit, expand an initial from memory or remove a component because an airline account previously accepted a shorter version. Use the current portal instructions for the passport structure you actually hold and verify the Latin travel identity against the machine-readable lines.
After typing, cover the form and read the passport aloud one field at a time. Then reverse the process: start with the form and point to the matching passport text. This two-direction comparison is better than repeatedly looking at both pages, because the brain tends to see what it expects when the same error is already present.
Mistake 2: confusing similar passport-number characters
Passport numbers often combine letters and digits. Zero can resemble the letter O; one can resemble I; five and S can be confused in certain fonts. Autofill may insert an expired passport number saved in the browser. Never rely on visual familiarity. Count the characters and compare them from left to right, then right to left.
Do not add spaces or punctuation unless the current form specifically requires them. If the official system rejects a passport-number format, do not keep trying random variations. The official FAQ provides a support route for passport-number field errors. Preserve a clear passport image and ask through the official channel rather than inventing a format that later creates a mismatch.
Mistake 3: reversing issue, expiry or birth dates
International applicants move between day-month-year and month-day-year systems. A date such as 07/08 can appear plausible in both formats. Use the date picker where available and compare the displayed result with the label on the passport. Do not copy a birth date from another identity document while the passport is open on screen.
Issue and expiry dates also need a logic check. Expiry must follow issue. Birth must precede both. The passport-validity rule must still be satisfied at application. A logical sequence does not prove accuracy, but an impossible sequence immediately reveals a wrong selection. Our application form validates date order and expected passport validity; it cannot know whether you selected the wrong but plausible day, so manual comparison remains essential.
Mistake 4: photographing only the “important” part of the passport
Applicants sometimes crop the image tightly around the name and photograph, believing empty margins are unnecessary. That can remove page edges, document context or part of the machine-readable zone. Others hold the passport with a thumb over a corner. The safer approach is a straight overhead image showing the complete page with a small clean margin around it.
Use indirect light from both sides when possible. A bright ceiling lamp or flash can reflect from laminate and erase several characters. Take more than one image, but keep only the best final version in the upload folder so you do not accidentally choose the blurred first attempt. Zoom into the passport number, expiry and bottom lines after the file has been transferred to the device used for submission.
Mistake 5: trusting a thumbnail
A thumbnail proves that a file exists; it does not prove that it is readable. Compression, focus and glare become visible only when the image is opened at its actual size. If the application is completed on a laptop, inspect the file on that laptop. A phone screen may make a soft image look sharper because it is displayed smaller.
Check the final file format and size against the official form’s current requirements. Do not repeatedly screenshot an image to make it smaller. Each screenshot can reduce detail and introduce colour or scaling changes. Use the original camera file or a controlled export, then reopen the exported copy before uploading.
Mistake 6: using the passport portrait as the applicant photo
The separate portrait serves a different purpose from the printed passport image. Cropping the tiny passport photo usually produces low resolution, document texture and security-pattern interference. Prepare a new facial photograph. Face the camera directly, use even lighting and keep the background simple. The official form displays the precise current framing rules and should be treated as the final specification.
Avoid portrait-mode blur, background replacement, skin smoothing and beauty filters. These tools can change hair edges, facial contours or skin detail even when the result looks natural. Do not use a holiday photograph cropped from a group. Sunglasses, heavy shadow, tilted head position and an image taken too far away can also prevent the portrait from meeting the form’s checks.
Mistake 7: preparing several family applications in one download folder
Family members often share surnames, flights and accommodation. They do not share an eVisa. Each adult and child needs an individual passport-linked application. When files are named only “IMG_1042” or “passport,” the risk of cross-upload rises with every traveller. One person’s sharp passport page attached to another person’s form is still an identity failure.
Create a private folder for each traveller before opening the first form. Inside it, keep the current passport page, current portrait and a small text note containing the application ID after submission. Do not include old passports or rejected portraits in the final folder. For children, compare the birth date and passport expiry with the physical child’s passport instead of copying a parent’s form and editing fields from memory.
Mistake 8: allowing browser autofill to control identity data
Autofill is designed for speed, not visa accuracy. It can insert a home address from years ago, a different email, an abbreviated name or another family member’s telephone number. Review every populated field even when you did not type it. A highlighted browser suggestion is not evidence that the information matches the passport or current trip.
Use an email you will monitor during the whole process. Official notifications and correction messages are sent electronically and can also appear in the official account. Type the address once carefully; a second “confirmation email” field is not a substitute for checking the actual inbox. Add the official sender to safe contacts where appropriate and inspect spam without clicking suspicious imitation links.
What does “returned for correction” mean?
The official FAQ explains that when inaccurate information is detected, processing can be suspended and the application returned with comments identifying what must be corrected. This is different from an issued refusal. Read every comment, correct the identified fields and resubmit. The processing period is then counted again from the corrected submission.
Do not rush because the message creates urgency. Save a copy of the comment, reopen the physical passport and rebuild the affected file if necessary. If the photograph is rejected, take a genuinely new portrait rather than applying multiple filters to the same unsuitable image. If identity data is questioned, compare all related fields, not just the one highlighted.
What if the eVisa has already been issued with a mistake?
This is why pre-submission checking has commercial and practical value. According to the official FAQ, data in an issued eVisa cannot be changed. An applicant who discovers an incorrect birth date or other identity detail may need to make a new application and should report the error through the official support channel with the requested identifying information.
Do not travel hoping that airline or border staff will ignore a material discrepancy. Compare the issued notification with the physical passport as soon as it arrives: name, passport number, nationality, birth date and validity dates. Early discovery leaves more time to follow official instructions. Discovery at check-in leaves few safe options.
A 12-point file inspection before payment
- Place the physical current passport beside the completed form.
- Confirm surname and every given-name component.
- Count passport-number characters in both directions.
- Verify nationality and date of birth.
- Compare issue date and expiry with their labels.
- Confirm the passport meets the current validity requirement.
- Open the passport image at full size.
- Check all page edges and machine-readable lines.
- Inspect the separate portrait for current appearance and natural detail.
- Confirm both files belong to the named applicant.
- Review email, telephone, purpose and travel dates.
- Save the application ID and monitor the official account.
Complete the inspection when you are alert, not at the end of a long booking session. If possible, take a short break and repeat the identity check once. A second reviewer can help, but do not send passport images through an insecure group chat. Share sensitive files only through a controlled process and understand how an assistance provider stores and removes them.
When paid document checking may be worth it
Independent assistance is not required for every applicant. It becomes useful when names are complex, several travellers are applying, the route is time-sensitive or the applicant is not confident evaluating image quality. The value should come from structured review and support, not from claims that an agent can influence the Russian authority.
Our Normal Process ($115) provides standard application assistance. Fast Process ($225) prioritizes our assistance and support queue. Neither package changes the official visa category, guarantees issuance or lawfully shortens the authority’s four-calendar-day review of a complete form. Applicants should choose the level that fits their need for checking and responsiveness.
Best practical rule: if a reviewer must guess one character, one date, one face or one file owner, the application is not ready. Replace uncertainty with a new comparison or a clearer file before submitting.
When your passport and portrait pass this check, proceed to the online Russia eVisa application. For the wider eligibility and document picture, read the complete requirements guide. Travellers with close departure dates should also review the processing calendar before paying for fixed arrangements.
Next, use the processing-time planner to protect a correction margin, verify flights with the entry-checkpoint guide and compare support through the transparent fee guide. You can also check nationality pages in the country directory or contact the team through the support page.
Official sources and editorial note
Reviewed 24 August 2026 against the Russian Foreign Ministry application instructions and official eVisa FAQ, including guidance on photographs, passport-number errors, corrections and inaccurate issued data. e-visarussia.ru provides independent application assistance and is not a government authority.